Two years ago, I made the
Chocorina, and I thought this Christmas was the right time to make another experiment: the
Nose Flute Cookie!
First I made some dough, a mostly classic one. The thing is that I wanted the cookies to be rather thin but resist the handling. So, I chose buckwheat flour and lessened a bit the butter portion. For 15 cookies, I used:
1½ cup (190g) buckwheat flour
¼ cup (55g) butter
¼ cup (85g) honey
¼ cup (55g) brown sugar (real one:)
1 egg
1 teasp. cinnamon
1 teasp. ginger
a pinch of nutmeg, powdered clove, salt.
I mixed the flour and the spices in a bowl. In another one, I kneaded sugar and butter, added honey, added the egg. Then I poured this in that, kneaded, and let this dark dough in the fridge for a 24 hours rest.

1 - The Shields
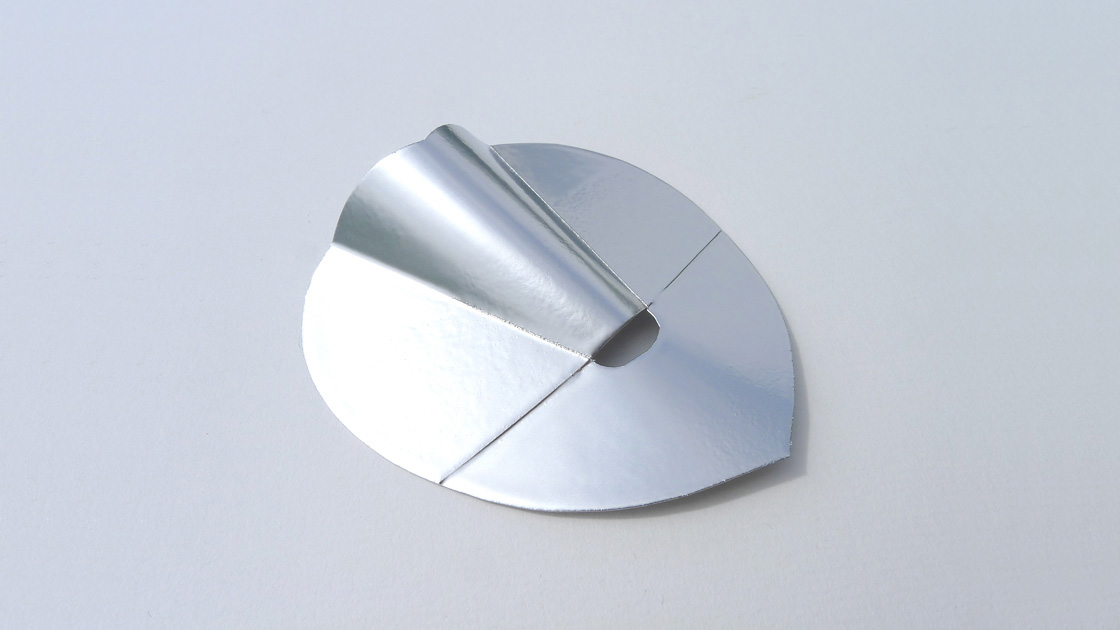
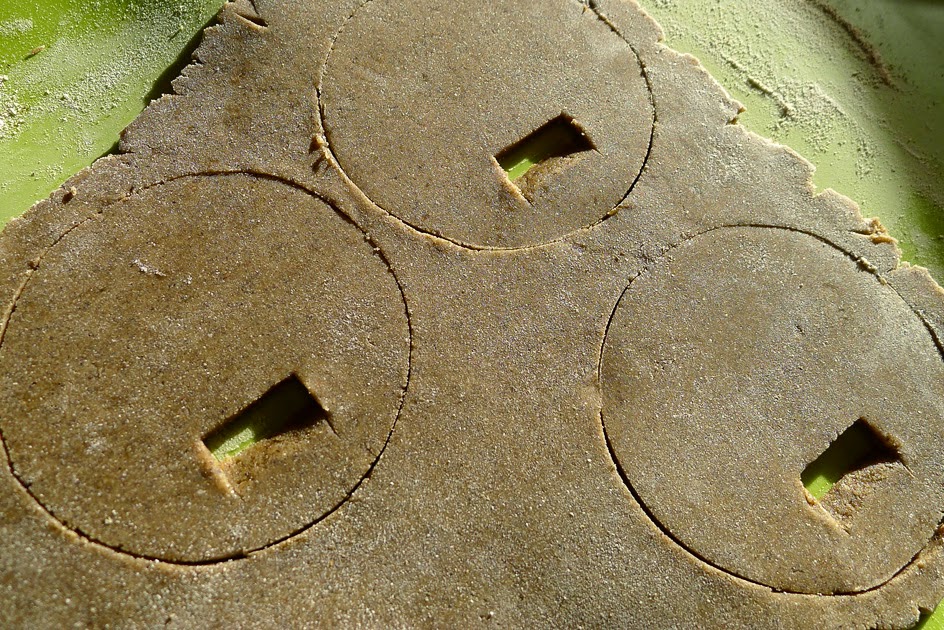
The next day, the real work began... I flattened to ±3mm a part of the dough on a silicone pad, and cut circles (the nose flute shield) and the rectangular mouth holes, following the plastic template I made (see at the bottom of this post).
With my scalpel, I cut the bevel of the labium. Better to be the most precise in this task, so I also use the help of a metal ruler to get a nice surface and edge.


I needed to bake the shields as curved tiles, so I carefully placed them over the rolling pin, bevel on the top. I shimed the rolling pin as I could in a dish, in order to avoid it to do what it does the best: to roll:). The oven set at 350°F (180°C), I let the cookies 15 minutes (this time really depends on the thickness: when they begin to turn brown, it's time to get them out).

I got 3 nice cookies, and did the whole operation 4 more times, in order to get 15 baked shields. I corrected the little imperfections with the scalpel then.


2 - The Airways
Next task was to make the dough bridges that would become the airways. Same thing, I flattened the dough, but this time I did it even thinner (±2.5 mm). Again, I used the second part of my plastic template, placed the cuts on the rolling pin and baked them (±10 min).

3 - Assembling
For the assembling, I made a good bunch of
Royal Icing (I used the rest in the last step). For that, I took:
1¾ cup (230g) icing sugar
1 egg white
½ lemon juice
Then, I put some of my royal glue on the edge of the airways, and placed them into the shields, took a great care in aligning the bottom edge of the airways with the top edge of the mouth hole, and let a little gap betwen them (±1.5 mm). I let what we now can call
nose flutes dry for half an hour.


4 - Icing
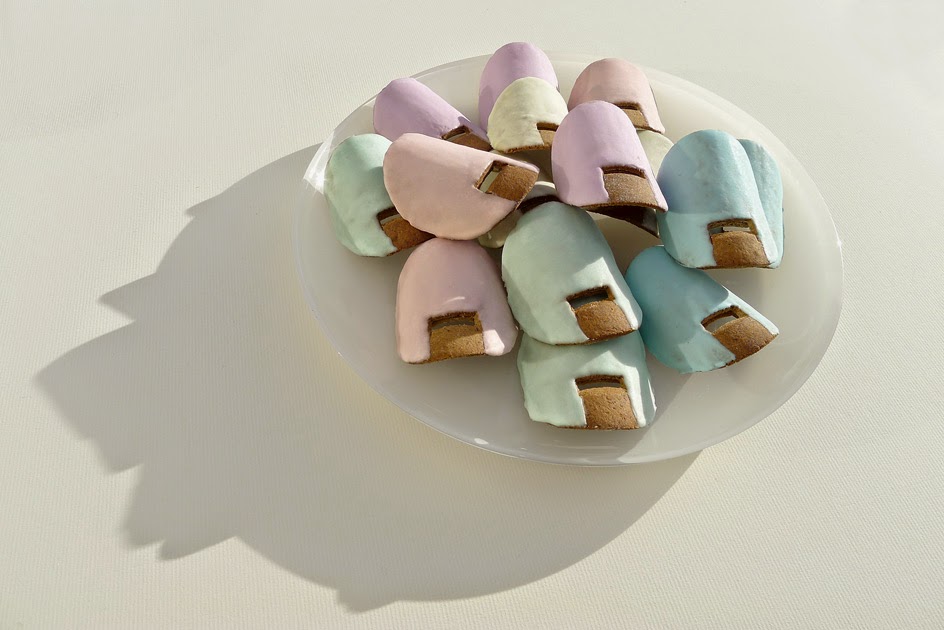
For the coating, I used the rest of my Royal Icing, that I separated in 5 parts. I added some tiny drops of natural food colorants to get 5 pastel colors. I coated the flutes with a paintbrush, leaving the "technical part" (the zone under the mouth hole) free of icing, to keep a nice air flow. Again, I let dry a good half of an hour.
5 - Christmas Nose Flute Cookies!
The result was 15 nice Christmas Nose Flute Cookies, 3 of each colour!
Here are some details:


And some pictures of the series:


Well, do they play? I must admit that not all of them are playable. I didn't try all of them, because I intend to offer some, but I tested 7 of them, and 4 were playable. More or less, several rather nicely, other squeaking:)
So, the last question is: are they tasty? Well, just take a look at this video!:
6 - Template
The template is more or less the same than the
Wallet Instant Nose Flute v.1 one, excepted for the labium and the airway. Indeed, you can see that the lateral edges are curved now.

------

------