My goal is not to forge a Bocarina™, and certainly not to make a market with that (anyway, moulding and casting is much more expensive that buying the original nose flute!). Chris Schuermans had authorized me to experiment with a mould. Indeed, my goal is purely recreational.
Moulding and Casting - Part 1: Hard silicone
Well, the first thing to do for casting an object is to create a mould. I have a correct stock of silicones and resins that are at their conservation limit date, so it was the right moment.
First, I disassembled a Bocarina™, by tapping the insert out with a small mallet.


Then I removed the salient sliders of the insert, and clogged the concave parts of the body, with Fimo clay.
 |  |

I prepared the body for the casting of a 2 parts mould:


I cut some tin sheet to build a box with a bottom with punched holes...
 |  |


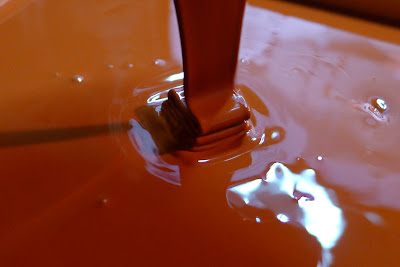
Finally, silicone! I used a RTV silicone, added some silicone oil for fluidity, and cast it over the nose flute.
 |  |

After some hours, I was able to unmould, thanks to the holes of the bottom of the box, and got a perfect imprint.
 |  |


Then, cutting the air ducts, necessary to avoid big bubbles, and applying some talcum powder to absorb possible greasy residues.
 |  |

I casted the second part, and placed a little sign to mark a side.

So, I obtained a (almost) perfect mould (no bubbles). I finally cut the salient "negative" parts of the air ducts, and applied talcum on both parts of the mould. Ready!


To be continued!
-----
On the same topic :
- Moulding and Casting - Part 1: hard silicone
- Moulding and Casting - Part 2: casting urethane
- Moulding and Casting - Part 3: low temp alloys
- Moulding and Casting - Part 4: soft silicone
- Moulding and Casting - Part 5: casting Acrylic
----

So, that's what you have been up to lately! Looking great, as usual!
ReplyDeleteHello Maikel,
ReplyDeleteYep, you're right (but I also had some "real work", uh?)
A.